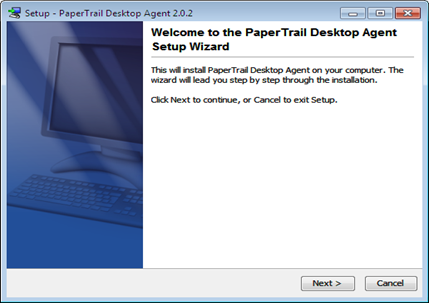
Desktop Agent
- Click Next to proceed with installation.
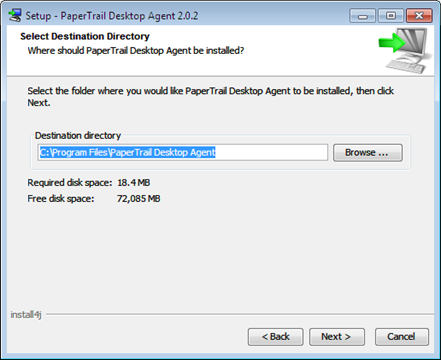
- After selecting destination directory, click Next.
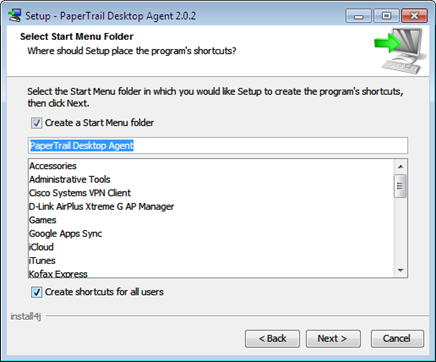
- Enable the Create a Start Menu Folder and click Next.
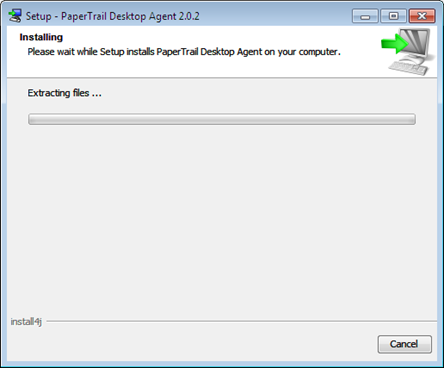
- Please wait while PaperTrail Desktop Agent is installed.
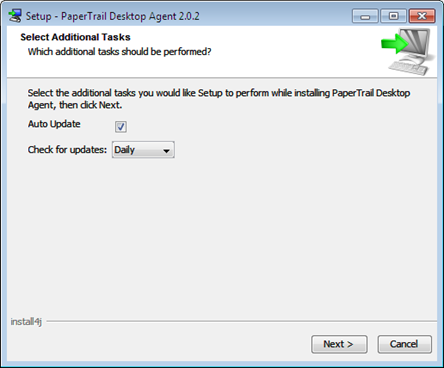
- Select Additional Tasks and click Next.
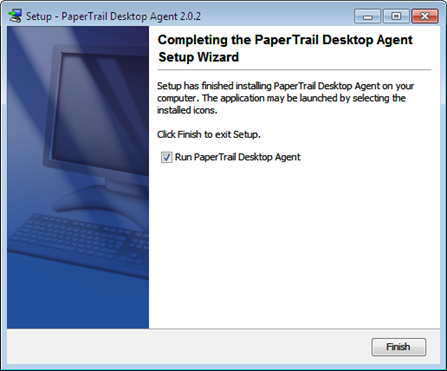
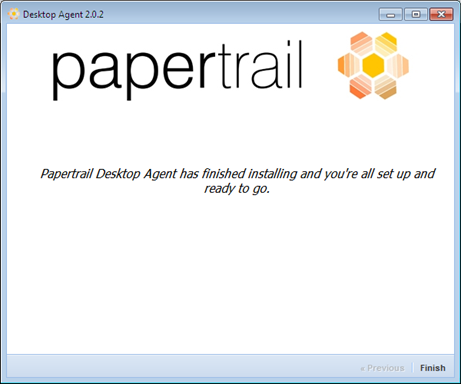
- Click Finish.
- After the installation, select a Setup Type and click Next.

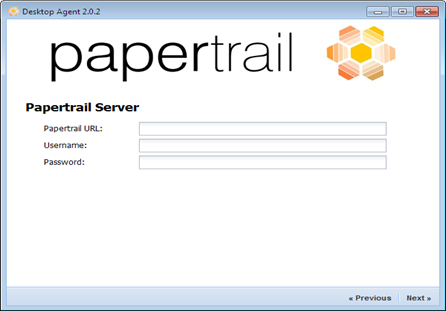
- You can enter your PaperTrail server details and click Next.
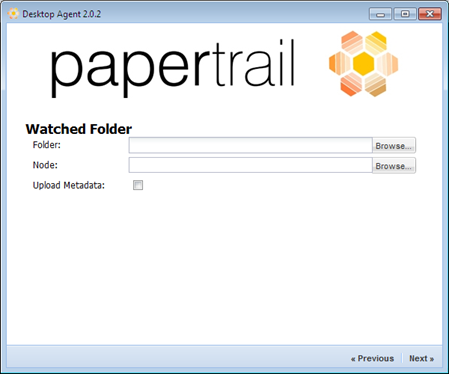
- You can select your Watched Folders location as displayed and click Next.
- Select a Document Type and click Next.

- Click Finish to complete the setup process.
- You can go to the following link to access the desktop agent: http://localhost:8884.